
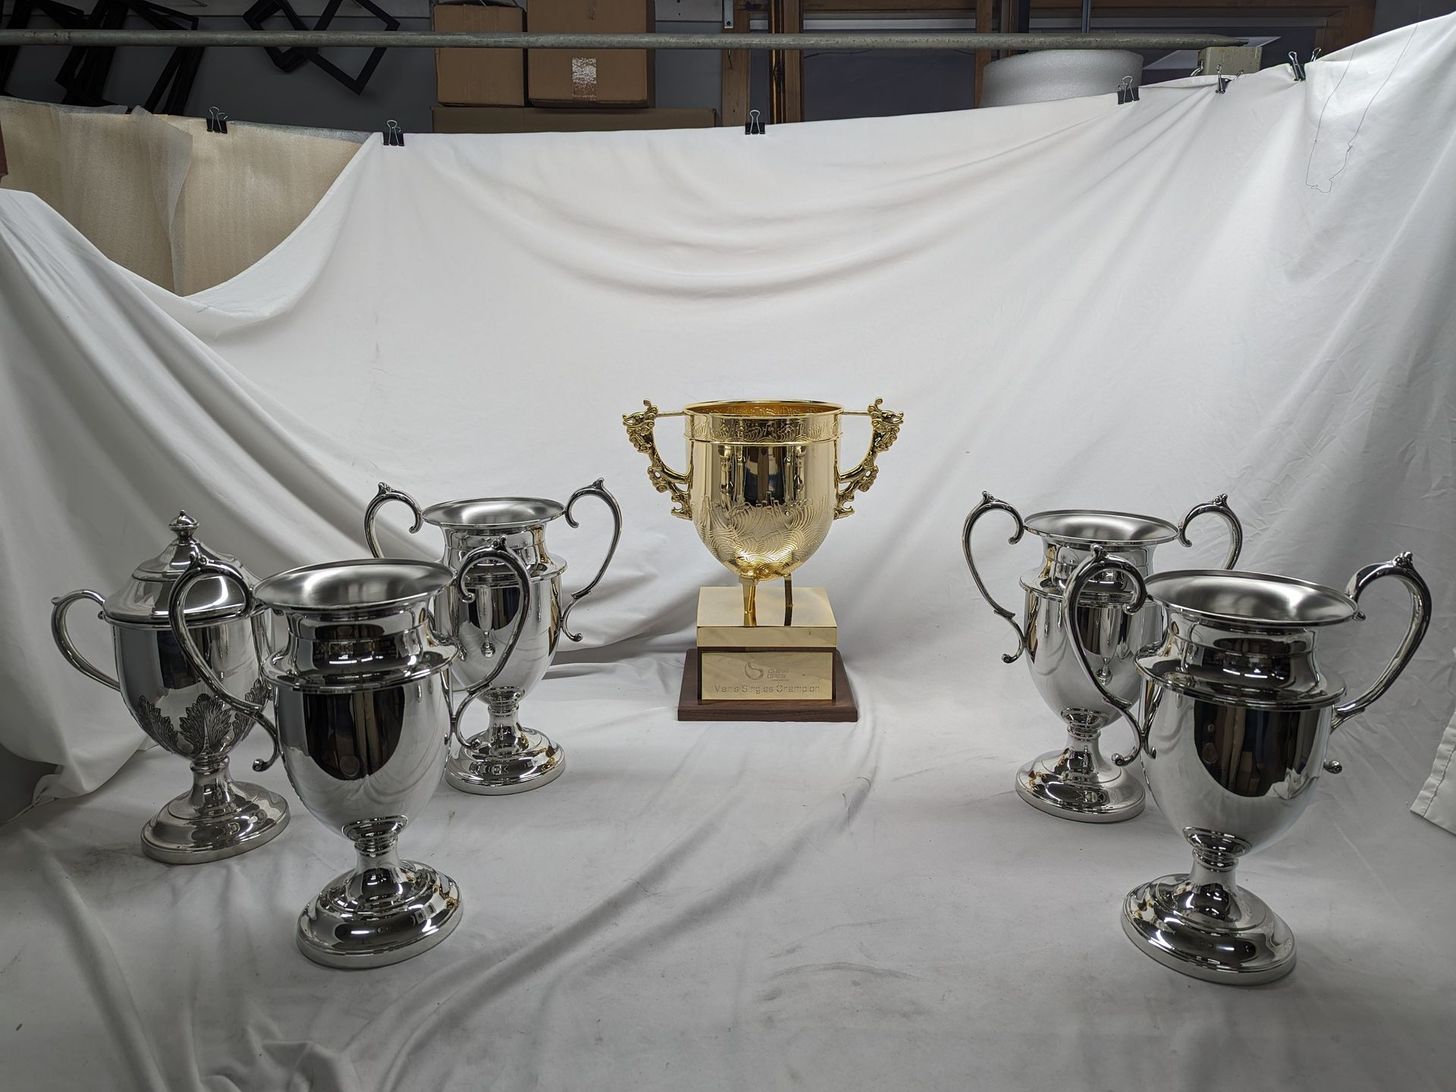
Trophy of the Week: June 8th, 2024
China Open Men’s Singles Tennis Trophy Replica
The China Open is a tennis tournament in, you guessed it, China, and many of the top tennis players in the world compete in it. The trophy itself reflects several Chinese cultural references with its dragon handles and the artwork encircling its body.
One of the nice things about recreating famous trophies like this one is that there are plenty of photographs from all angles with a quick internet search. Because of that, we were able to build the handles and the artwork to be pretty close to the original without actually having the original trophy in our possession. In this case, the customer did not want to spend the substantial expense for an exact replica, so we made the trophy “in the style of” the China Open. This just means that it may be a bit different size and proportion, but it looks very similar otherwise.
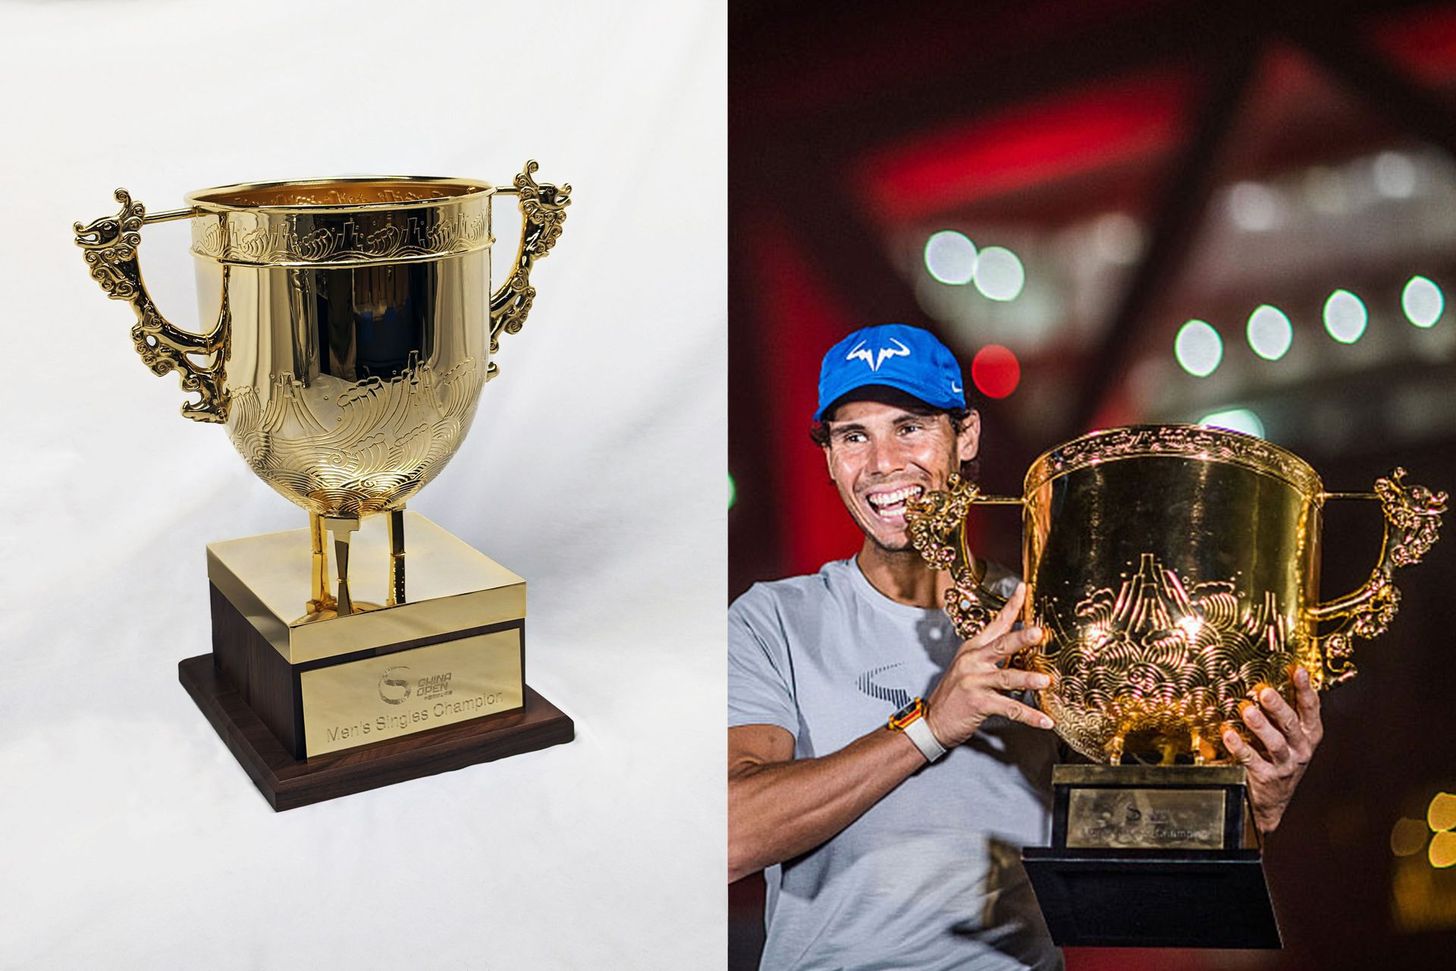 Our replica (left), The China Open Trophy held by Nadal (right)
Recreating the Trophy Handles
This trophy’s handles are the most unique part of the design, and they really differentiate it from western designs. We wanted to make the handles as close as possible, so we sent a bunch of photos from different angles to our 3D modeler. If we had the actual piece, we could have taken a 3D scan of the handles, but as it was a bit more legwork was required. Once the modeler came back with the 3D model, we printed a model in wax and cast two handles in bronze using the lost wax casting process.
The bronze handles come out of the mold pretty rough, and one of them actually had a large split running right through the handle that wasn’t obvious until we actually started polishing it. We cast a third handle, and that one came out much better. Once we had the raw handles, we cut off the sprues with a hack saw, removed the surface defects with a grinding wheel, and polished it to a bright finish.
Normally we would solder the handles to the trophy, but in this case, the top of the handle contacted very little surface area on the trophy, so the solder joint wouldn’t be as strong as we’d like it to be. To prevent cracking we drilled and tapped the cylindrical post at the top of the handle, so it could be mounted with a screw to the body.
On the lower half of the handle there was much more surface area, so we didn’t bother bolting it. Solder alone was strong enough to hold it.
Making the Trophy Body
The body of the trophy was the most straight forward piece to make. Since the trophy didn’t have to be exactly the same dimensions as the original, we were able to make it using tools we had in-house already. The body was spun by molding a circular sheet of brass over a spinning chuck that is the desired shape of the trophy.
Once the plain body was spun, the design had to be put in. This was done by hand by a chaser. Chasers use various metal forming tools to deform the metal into a pattern. Before sending it to the chaser, we marked the locations of the handles, the top band, and the bottom posts. The chaser was able to copy the pattern from images of the original trophy.
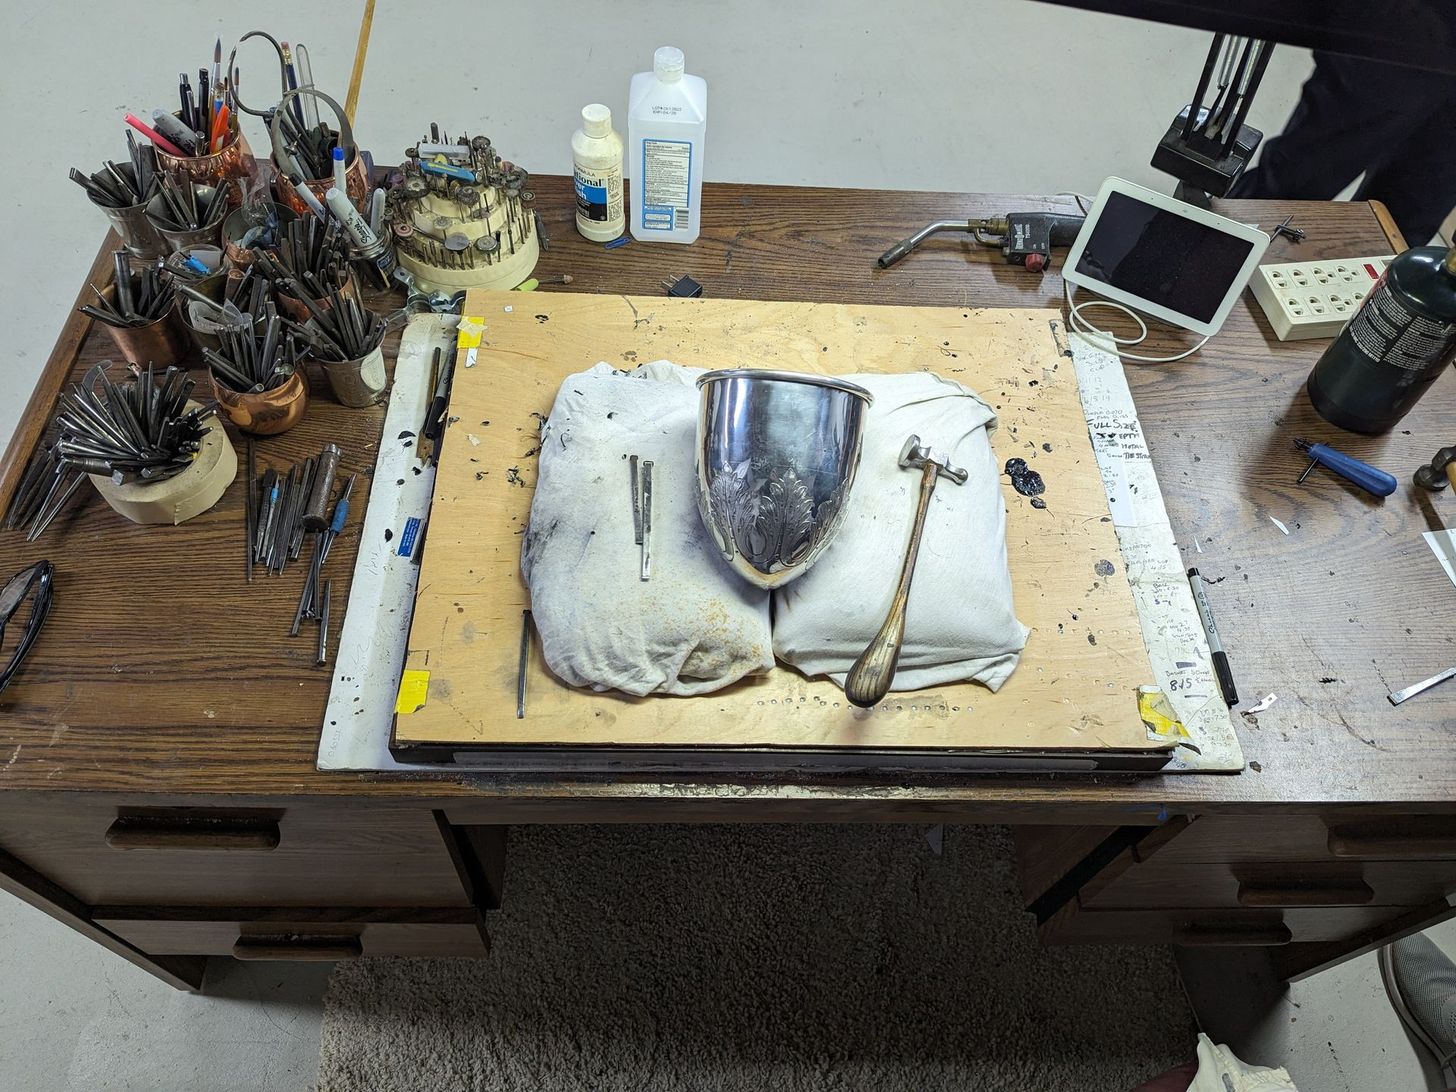 An example of a chaser’s workbench
Once the body was made and the design chased in, we had to add the top bands. Brass wire was soldered into a ring that was slightly smaller than the trophy body using very strong solder. Then, the band is placed on the spinning chuck that was used to make the body. By forcing the ring onto the spinning chuck while the chuck is spinning on the lathe, the band gets stretched until it’s the proper size to fit on the trophy. This method also removes any wrinkles in the band and makes it perfectly smooth. From there, the bands can easily be soldered in place at the proper height.
Making the Pedestal
Once the trophy body and handles were built, we had to create the pedestal, i.e. the three T-shaped pieces that the trophy rests on. The tricky part here is to make the joints strong enough that they won’t break. There’s not a lot of surface area because the T-shaped pieces are fairly thin on the bottom. For the bottom, of the T pieces we drilled and tapped them, so we could bolt them directly to the wooden base underneath. On the top, we ground the pieces by hand until they matched the curved profile of the bottom of the body. By doing that, we were able to get enough surface area that a solder joint would hold.

Making the Base
The wood base is just a simple wooden base that we sized to the trophy. We fabricated the cap by cutting a square to be about ⅛ - ¼” larger than the top of the wood base. Using a press break, we bent a 1 inch wide strip of metal to fit perfectly around the wood base and soldered it so it formed a square. We put the square onto the sheet of brass that was a little oversized and soldered all the way around. Once the pieces were joined, we ground down the edges that were sticking out.
From there, the entire trophy was sent to the plater to be gold plated. In this case, we used a Hamilton-gold plate which means that first nickel is plated onto the brass, and then gold is plated onto the nickel. This gives the trophy a shinier finish than it would have if the gold was plated directly onto the brass.
This post was written by Peter Oldani. Find out more about the author.
Related posts

The Greatest Sports Trophies of All Time
The history of trophies dates back thousands of years, and trophies have become a symbol of victory, presented to this day to sports teams and individuals to recognize their achievements across sports competitions and tournaments.

Excellence in Golf: Trophies to Remember

Trophy of the Week : March 26th, 2023
This week we finished a custom redesign of our 650 Series XL trophy in pewter. Our client wanted a substantial trophy for their horse reigning championship...

The Principles of Spinning Pewter Sheet Metal: Chapter 1
An introduction to the art of metal spinning, this book from the early 1900s is an excellent resource to start into spinning pewter and sterling silver. Spinning pewter sheet metal is a very traditional technique, and despite the age of the book, the same methods still apply today.